3D Print Not Sticking to Bed? 9 Fixes to Improve Bed Adhesion
3D print not sticking to the bed? This guide covers 9 proven fixes — from Z-offset calibration and bed cleaning to material-specific temperature settings — so your first layer bonds properly every time.
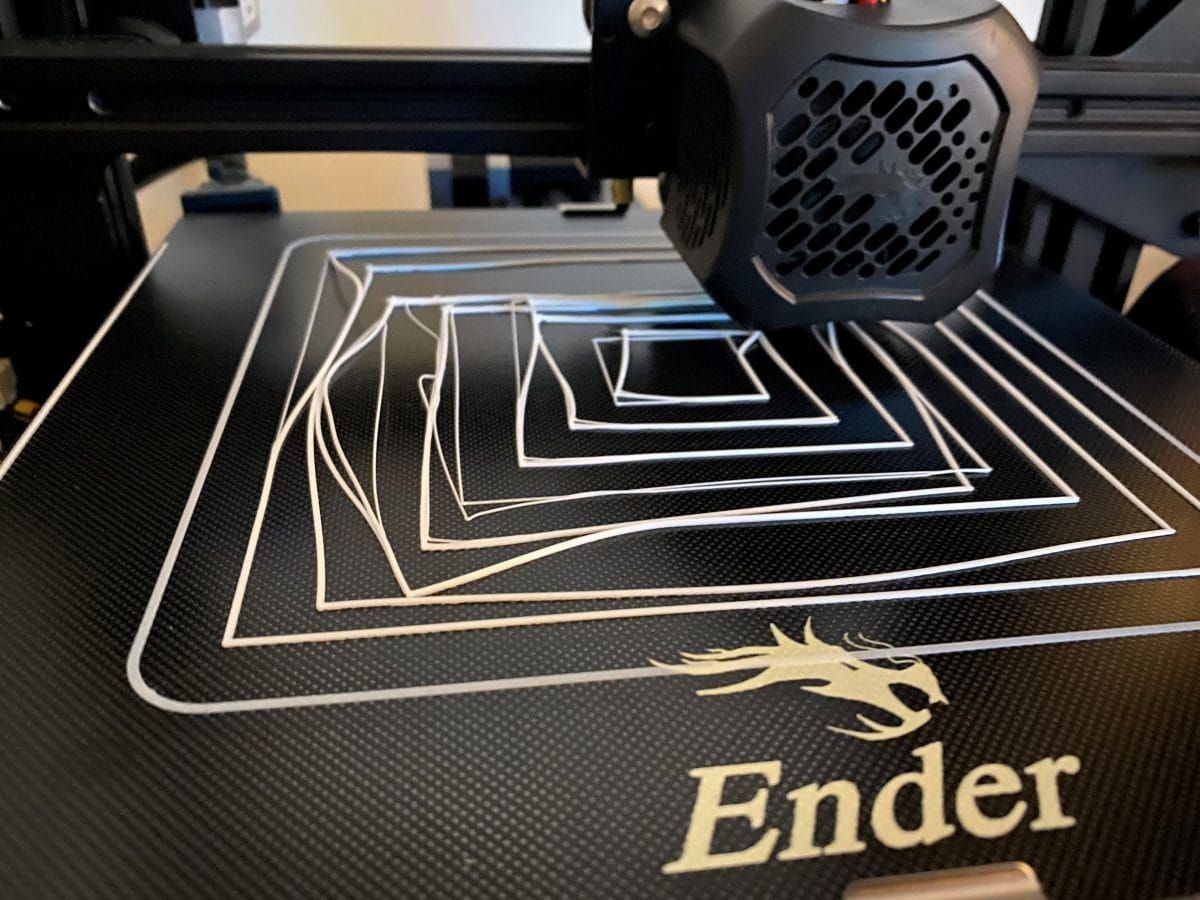
While 3D printing is a fun activity, there are a few problems that most users face. One such issue is a 3D print not sticking to the bed.
If you're also wondering why my 3D print isn't sticking to the bed, the following guide will help you understand the issue and the best possible solutions. Continue reading to understand 3D printer bed adhesion issues in detail.
How to Identify Bed Adhesion Problems
The first step is to identify 3D printer bed adhesion problems.
- Corners or edges lifting mid-print: In this case, the first layer will stick to the bed, but later on the corners start to detach from the base. It is usually mixed with pure warping, but in reality, the weak layer can't handle the cooling and shrinking process.
- Print detaches completely: Another sign is the print coming off the bed during printing. It is a complete adhesion failure.
- Poor quality first layer: A first layer with gaps and round beads instead of flat ribbons shows weak bonding.
At times the first layer appears wider than the rest, but that's usually due to the elephant foot problem, and is not related to adhesion.
What Affects 3D Printer Bed Adhesion
Now that you know how to identify these issues, you should also know what actually affects the 3D printer bed adhesion.
- Surface contact: It determines how well the molten filament attaches itself to the bed. Mostly, cleanliness, bed material, and adhesion aid affect it.
- Temperature: If the bed is too cold, the filament solidifies before bonding with the plate, and if it’s too hot, the bottom layers remain soft.
- Mechanical foundation: Here, bed leveling and the nozzle's position matter most. With the right Z-offset value, you would not face any issues.
Quick Fix Checklist: Try These 3 Things First
If the “print not sticking to the bed” issue just started happening, here’s what we suggest you do.
- Clean the bed: Use IPA and a lint-free cloth to clean the surface.
- Re-level the bed: Try readjusting the controls to readjust the bed's height.
- Check Z-offset: Check the first layer. In case it’s loose, lower the Z-offset in 0.02 mm increments.
In case this fixes your problem, you're good to go, but if your 3D print is still not sticking to the bed, we suggest you keep reading.
9 Fixes for 3D Print Not Sticking to the Bed
1. Clean the Build Plate
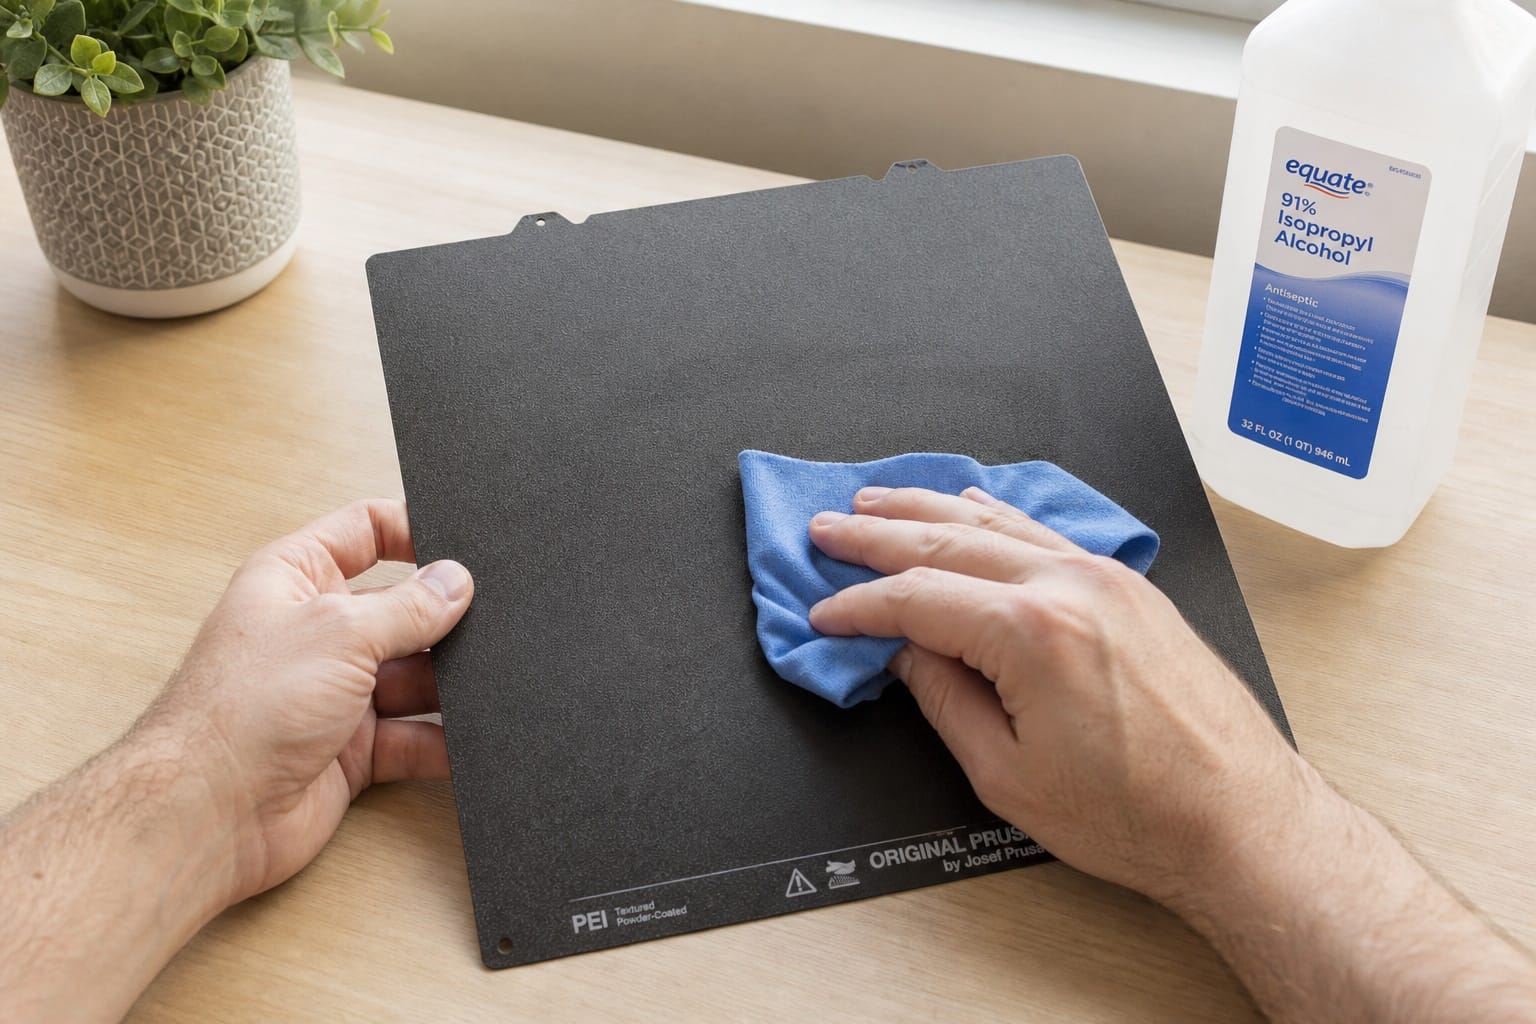
Why it matters: A dirty build plate is the leading cause for a filament not sticking to the bed. From fingerprints to dust, anything could be creating an invisible wall between the bed and filament. Therefore, if your filament is not sticking to the build plate, we suggest using these steps.
- Wipe between every print: Wipe the bed with 90%+ isopropyl alcohol (IPA) and a lint-free cloth to remove residue.
- Deep clean weekly: Remove the build plate and wash it with warm water and dish soap. Once washed, let it dry and then reattach it.
- Avoid contamination: After cleaning, carefully handle the plate from the edges.
2. Level the Bed
Why it matters: A properly leveled bed creates consistent prints, but the minute the bed is unevenly distanced from the nozzle, you will experience 3D print adhesion issues. When some areas are too close and others too far, the prints don’t stick to the build plate. Luckily, fixing it won’t be a hassle.
- Use Auto bed leveling: Modern printers like Bambu Lab printers have an auto bed leveling mechanism that automatically sets levels in 2 minutes.
- Manual leveling: If you don't have an automatic bed leveling system, we suggest using the manual leveling option. Place a sheet between the nozzle and bed at each corner and center. Manually adjust the calibration till the paper slides out with little resistance.
3. Calibrate Z-Offset When the First Layer Is Not Sticking to the Bed
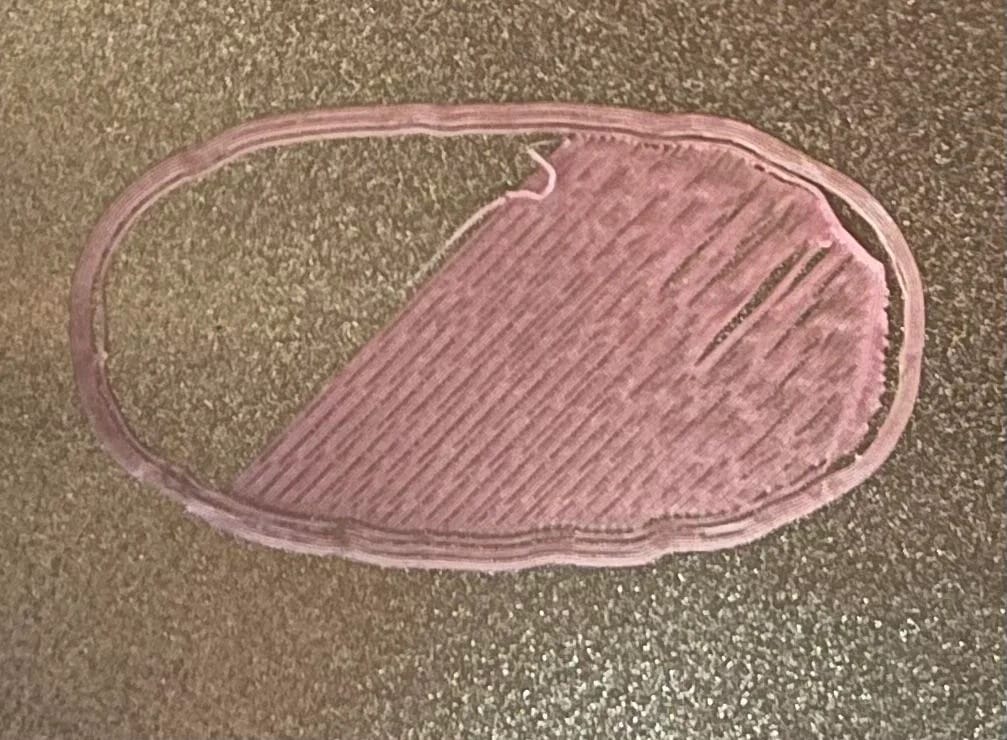
Why it matters: If your 3D printer's first layer is not sticking, the issue could be the Z-offset. So, for those wondering why my filament is not sticking to the bed, we suggest adjusting the Z-offset.
- You could start with a test case. Print a simple square to check how the filament looks.
- If the lines appear more round, we suggest lowering the Z-offset in small increments (0.02 mm at a time).
- However, if the surface starts to look rough, you should increase the Z-offset. Remember, an ideal layer should be flat and have even gaps without any breakages.
These adjustments should resolve most first-layer adhesion issues.
4. Adjust Bed Temperature (PLA Not Sticking to Bed?)
Why it matters: Most individuals new to 3D printing often question: Does higher bed temperature improve adhesion? The answer is yes to an extent.
Sometimes materials like PLA don't attach to the bed because the plate is too cool. In such scenarios, a higher temperature range is ideal. However, that doesn't mean you go beyond a certain range. At times, excessive heat causes the lower layers to soften. Thus, a balance is a must.
Here are some recommended temperature ranges for different filaments.
| Material | Bed Temp |
|---|---|
| PLA | 55–60°C |
| PETG | 70–85°C |
| ABS / ASA | 95–110°C |
| TPU | 50–60°C |
| Nylon | 70–90°C |
If you feel the filament isn’t sticking properly, feel free to increase the temperature by 5°C.
5. Use Adhesion Aids to Fix Bed Adhesion Issues
Why it matters: If the previous methods didn’t work for you, we still have many useful tricks to fix 3D print bed adhesion issues. One is using adhesion aids.
Adhesion aids add an extra bonding layer between the filament and the bed. In some cases (like PETG on smooth PEI), they also act as a release agent to protect the bed surface from damage. For example, when printing PETG on PEI, these aids help in removing a 3D print.
Some 3D printing adhesives we recommend are:
- Glue stick (PVA-based): A thin layer of glue helps in bonding and removal of most materials. However, for PLA, you don’t need an aid.
- Hairspray: It helps create a sticky surface.
- Painter’s tape: Using painter's tape on unheated or glass beds greatly improves adhesion.
- Specialty bed adhesives: Products like Magigoo or 3DLac are great for increasing adhesion, but do check their compatibility with the filament.
6. Choose the Right Build Surface
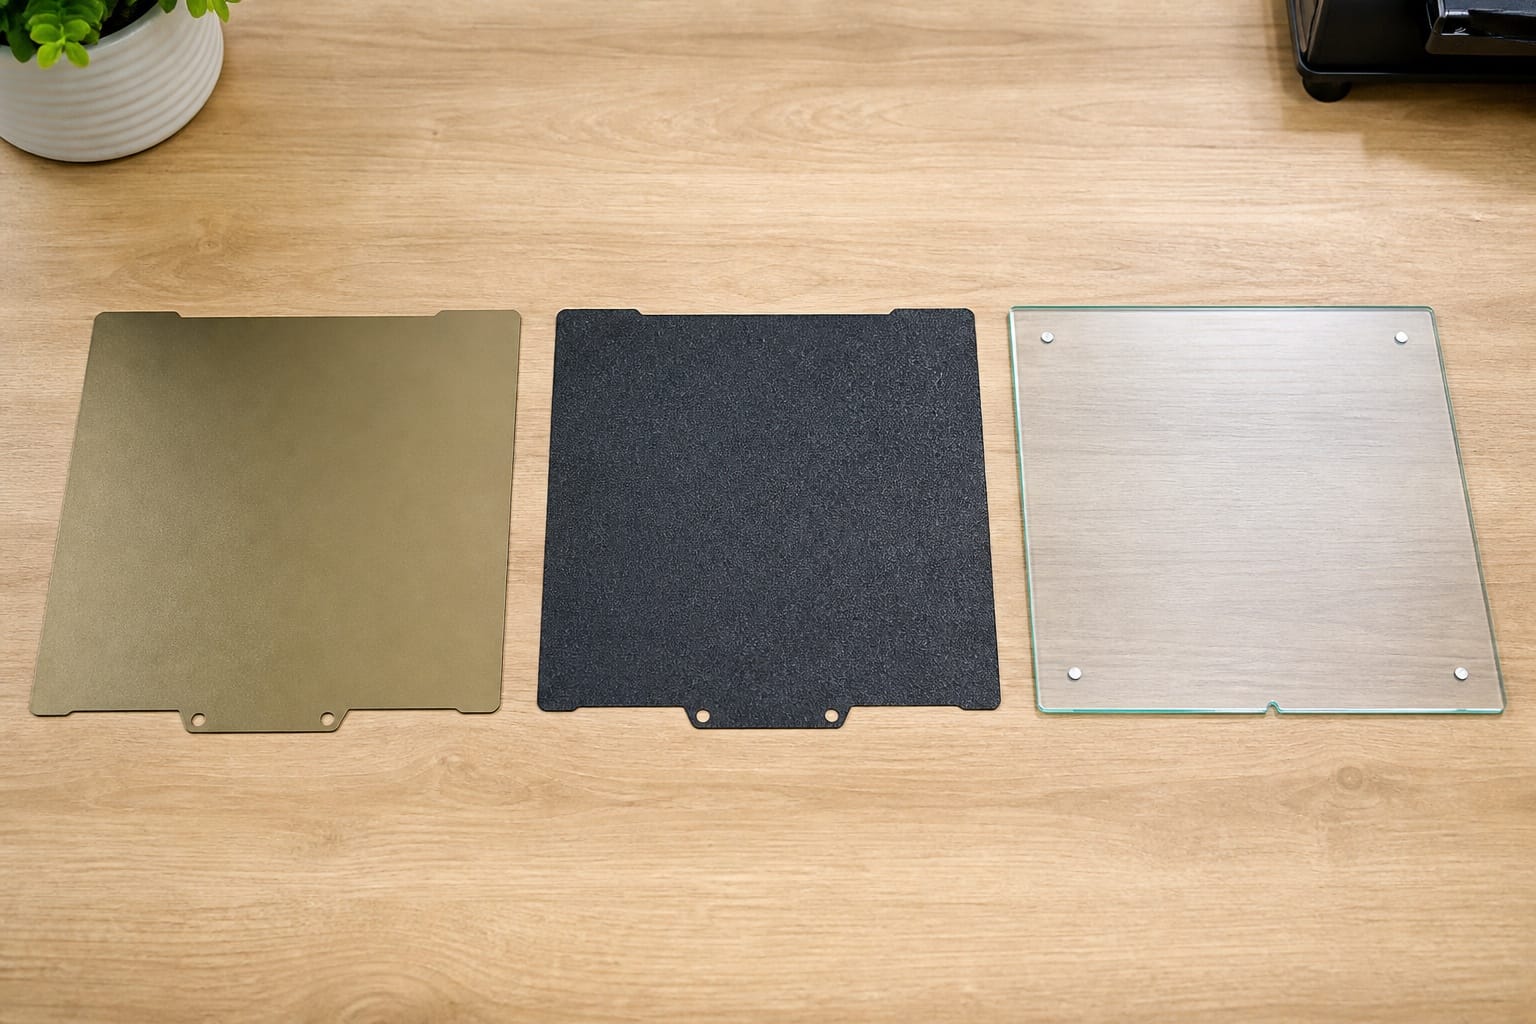
Why it matters: Your build plate’s surface also impacts the 3D printer build plate adhesion. If your 3D print is not sticking to the build plate, even after using all these fixes, then try switching the build plate type. Here are some choices we recommend for different filaments.
- Smooth PEI: It is perfect for PLA and can even be used for PETG but with a thin layer of glue as a release agent.
- Textured PEI: You can use textured PEI for PLA, PETG, ABS, and ASA.
- Glass: These surfaces are ideal for PLA and, with some adhesion aids, provide excellent grip for other materials.
- Magnetic flex plate: For those who wish for easier removal, a magnetic flex plate is a godsend. Just bend it, and it automatically releases the entire print.
7. Optimize First Layer Slicer Settings
Why it matters: In several cases, even after leveling and cleaning, the 3D print won’t stick to the bed, indicating problems in the slicer. Poor slicer settings are a common cause of 3D printing bed adhesion problems but can be fixed.
- Add a brim: Use 5-10 brim lines to increase the surface area of parts that often lift.
- Use a raft: Print a thick platform under small-contact parts to achieve stability.
- Slow down the first layer: Reduce the print speed by 50-70% to give time for bonding.
- Turn off the cooling fan: Turn off the cooling fan so that the first few layers don’t cool off too quickly.
- Increase initial layer height and width: Try to print a thicker and wider first layer for stronger mechanical bonds with the plate.
8. Keep Filament Dry
Why it matters: Many users fail to notice, but moisture is also a reason for 3D prints not sticking to the bed. Filament usually absorbs moisture, and later it turns to steam under high temperatures. These steam bubbles ultimately result in inconsistent extrusion, hence destroying adhesion at the first layer. To fix it, you will need to:
- Store filament in airtight containers or dry boxes.
- In case the filament has been outside, first dry it at low temperature for 4-6 hours.
- For filaments such as Nylon and PETG, one has to be extra cautious because their absorption rate is much higher.
9. Use an Enclosure for ABS, ASA & Nylon
Why it matters: Always keep in mind that materials like ABS, ASA, and Nylon shrink upon cooling, making them more prone to 3D printer bed adhesion problems. Even a small draft can cause corners to lift mid-print. In such cases, users will have to:
- Print inside an enclosed printer.
- Keep the doors and windows closed.
However, for PLA, these enclosures are not necessary because they benefit from the active cooling.
Still Not Sticking? Last Resort Methods
By now, most of you must have found the solution for your 3D print not sticking to the bed problem, but for those who still feel the print isn't sticking properly, we recommend using these last resort methods.
- Sand the bed surface: Take 600- 800-grit sandpaper and sand the building surface. It will give the filament more area to bond with. Do NOT sand PEI, as it permanently damages the coating.
- Replace the build plate: At times, the build plate is damaged permanently, and you can only replace it with a new one. The new sheets don't cost much and help restore adhesion.
Material × Surface: Bed Adhesion Quick Reference
| Material | Smooth PEI | Textured PEI | Glass | Adhesive Needed? |
|---|---|---|---|---|
| PLA | 55–60°C | 55–60°C | 60–65°C | No (PLA sticks to clean PEI without adhesive) |
| PETG | 70–80°C | 70–80°C | 75–85°C | Smooth PEI: YES (glue stick as release agent). Textured PEI: No. |
| ABS / ASA | 95–110°C | 95–110°C | 100–110°C | Glue stick or ABS slurry. Enclosure required. |
| TPU | 50–60°C | 50–60°C | 50–60°C | Usually not needed |
| Nylon | 70–90°C | 70–90°C | 70–90°C | Yes (glue stick or Magigoo). Enclosure recommended. |
FAQ
Q: Does higher bed temperature help adhesion?
Yes, it helps to an extent. You can increase the temperature by 5-10°C to improve adhesion, but raising the temperature too much can also cause the first few layers to become soft. Thus, stay within the right temperature range.
Q: What bed adhesion is best for PLA?
A clean and smooth PEI build plate with no adhesive is perfect for PLA. Just heat it to 55–60°C to get the best adhesion naturally.
Q: Which has better bed adhesion, PLA or PETG?
PETG forms more aggressive bonds with the build plate than PLA. While the bonds are stronger, PETG is also difficult to remove from the plate. Thus, we have to use a thin layer of glue for printing PETG on smooth PEI.
Q: What if my print sticks too hard to the bed?
Sticking too hard is also considered a problem because then it is difficult for the print to come off the plate. To prevent the print from sticking too hard to the bed, we suggest letting the print cool down or using a protective barrier between the filament and build plate.
Comments ()