3D Printing 101: What Is 3D Printing & How Does It Work?
Learn what 3D printing is, how it works step by step, and which technology (FDM vs resin) is right for you. Everything a complete beginner needs to get started.
Imagine you have to attend your friend's birthday in a few hours, but can't find anything creative in the market. Surely you can't go empty-handed, and that's where a 3D printer proves to be useful. With a few simple clicks and the right instructions, you can create a thoughtful birthday gift right at home, and that too in a few hours.
It might sound impossible to some, but with the all-new 3D printers in the market, this is easily possible. From customizing gifts to gadgets, toys, and school projects, 3D printers help you create everything.
The following guide will help you understand in detail how 3D printing works, why it is a need of every household, what types of 3D printers are available on the market, and how to use a 3D printer. By the end, you will have enough knowledge to embark on your own 3D printing journey.
So, whether you're a beginner or just someone who wants to explore the technology as a hobby, this guide will be more than enough to help you gain a clear idea of the basics.
What Is 3D Printing?
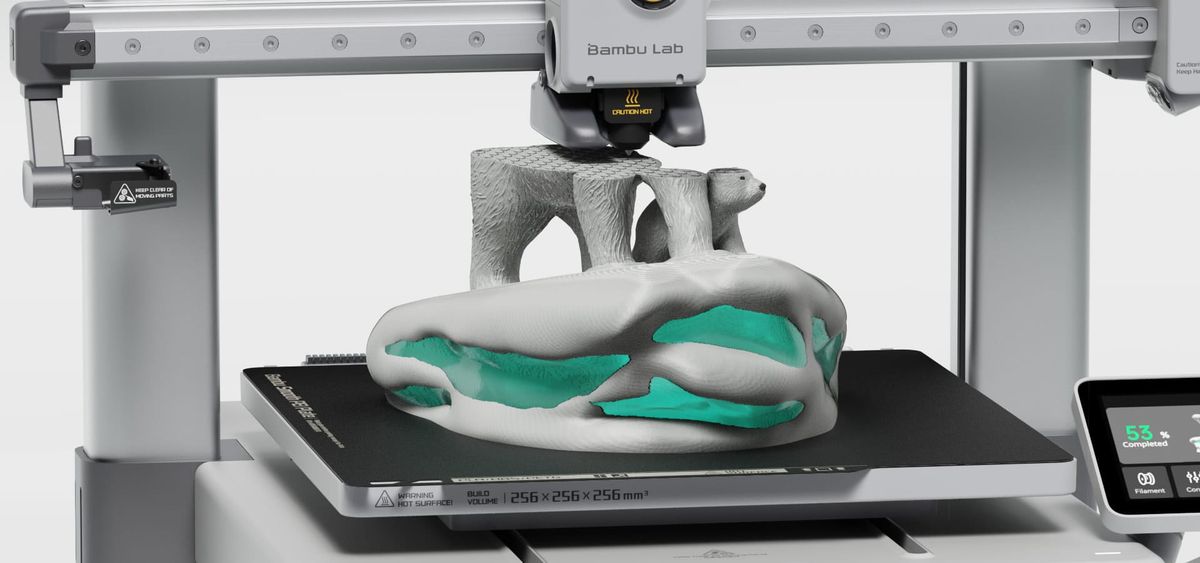
So, what exactly is 3D printing? In simple terms, it's a process of building an object layer by layer from a digital file. Also known as additive manufacturing, 3D printing constructs objects by adding material one thin layer at a time — the opposite of cutting material away.
To better understand the process, one should think of subtractive manufacturing, such as CNC machining, where a solid piece of material is cut layer by layer to get the required design, or formative manufacturing, where molten material is injected into a mold and left to harden. In contrast to these two traditional methods, 3D printers take a different approach.
It slowly builds the item from scratch, wasting little to no material. Indeed, the shift from these traditional approaches to 3D printing has been nothing less than extraordinary.
The best part is that this innovation wasn't discovered today. In fact, it began a long time ago.
- Chuck Hull first filed a patent for stereolithography (SLA) in 1984, a process that used UV light to harden liquid resin. He went on to found 3D Systems in 1986, launching the first commercial 3D printer.
- Next came Scott Crump, who filed a patent for Fused Deposition Modeling (FDM) in 1989 and co-founded Stratasys — the technology behind most home 3D printers today.
- Around 2005-2007, Adrian Bowyer launched the RepRap project, where he encouraged individuals through an open-source platform to build a 3D printer that could print its own parts. These efforts led to Darwin in 2007, the first 3D printer capable of printing its own parts.
- After 2022, companies like Bambu Lab added to the range of plug-and-play printers, which eventually made it easier for people to set up 3D printing systems at home.
In short, the 3D printing journey started a long time back, and the effort of many talented individuals transformed it from a niche industrial tool to a widely accessible technology.
How Does 3D Printing Work?
After having an insight into how we got these 3D printers, the next most important step is to understand how a 3D printer works.
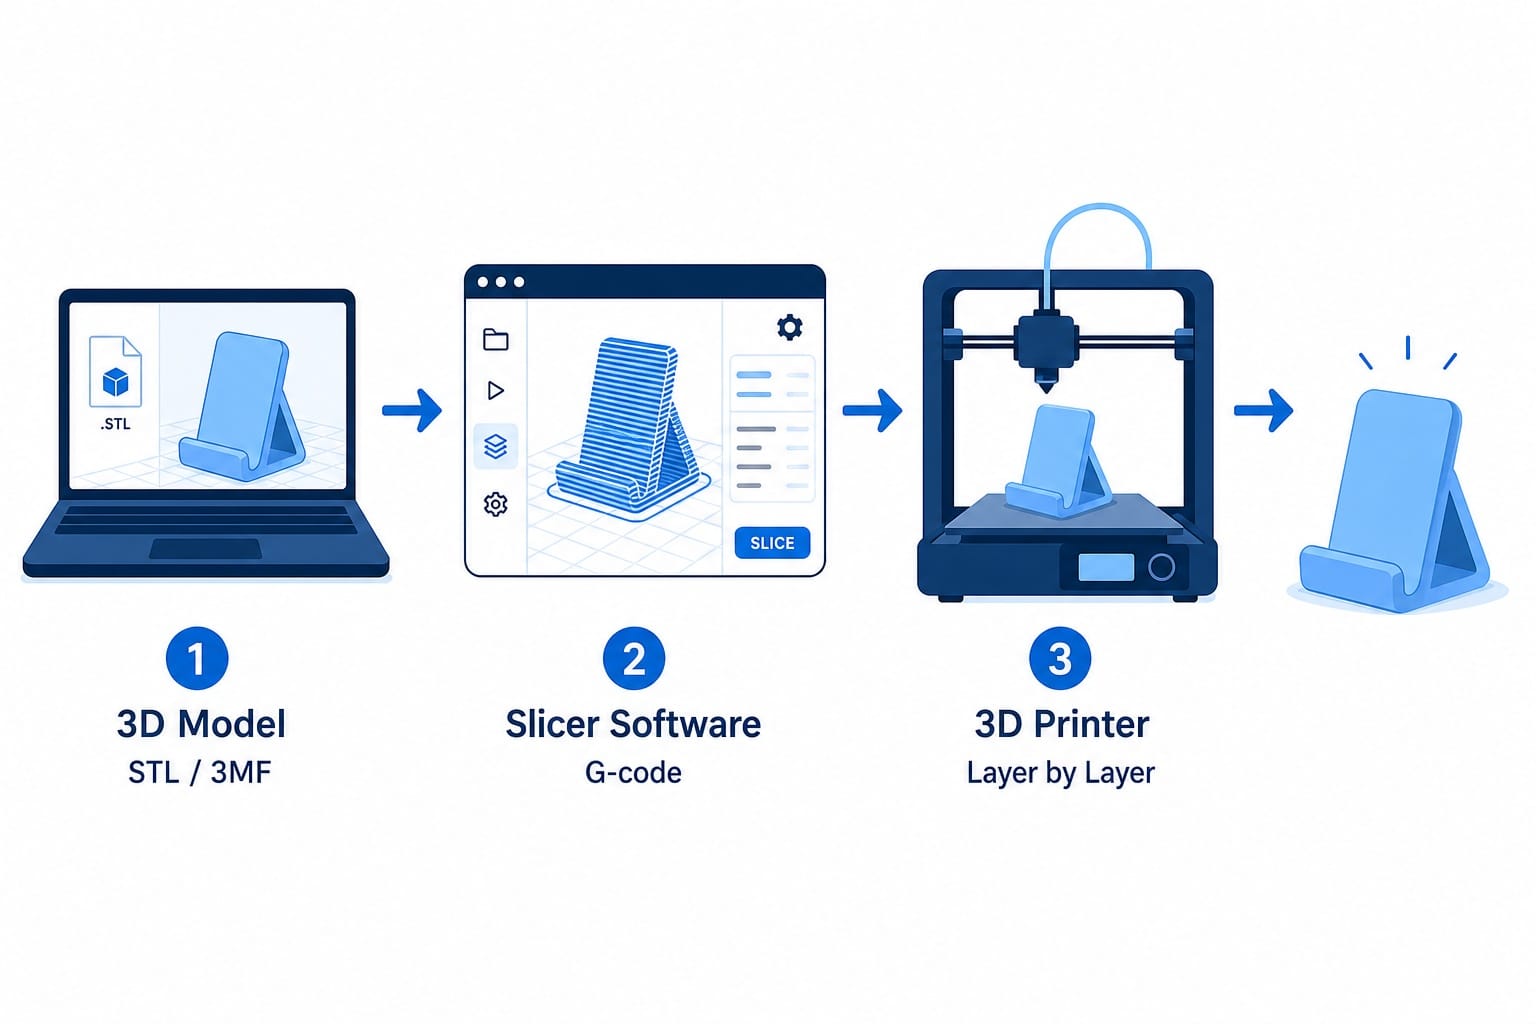
Step 1: Get a 3D Model
It all starts with a 3D model. This model or file has all the basic information needed to describe the dimensions of the object you are creating. The two main file formats are STL (older) and 3MF (newer). The 3MF file format stores additional information, including color schemes, printing settings, and material information, and that's why we prefer it over other options.
Once you have the right model, your 3D printing experience becomes much more memorable. Also, for those of you who aren't the best with designing, we would like to remind you that, thanks to free models available online, you don't have to put in much effort.
There are thousands of free models available on MakerWorld, Printables, and Thingiverse. You'll find a massive catalog with designs for almost everything, including decorative artworks, educational projects, household goods, and much more.
If you think originality is your forte, you could always use Tinkercad to experiment and design something new.
Step 2: Slice the Model
With the right model, you come to the second stage, where you need the right type of slicer. 3D printing can't be done directly from a model file. Your machine needs someone to break down the design into pieces, and that's where the slicer software comes in handy.
A slicer, as the name suggests, converts your 3D model into layer-by-layer instructions called the G-code. It tells the printer exactly where to move, how fast to move, and how much material to deposit. Think of it as a detailed recipe for the main dish.
Here are three things that need to be set perfectly if you want your design to be accurate. First is the layer height, which is how thick each layer is. Next comes the infill, which measures how solid the inside of the model is. You could set it to 100% if you want a completely solid interior, or to 15-20% if you only require a good amount of strength.
Lastly, there are supports — temporary structures that hold overhanging sections during printing. Once you learn to adjust these settings, your model will be nothing less than perfect.
One can always choose the Bambu Studio's slicer software, Orca Slicer, or Chitubox / Lychee Slicer, depending on the type of printer they are using.
Step 3: Print & Post-Process
Finally, we have the printing step. You will need to send the G-code to the printer, which is possible through Wi-Fi, SD card, or USB. With the right instructions, the printer will decode each layer and build it. The process takes anywhere from 30 minutes to 10+ hours, depending on size and complexity.
With the printing process started, you will have to see how the first layer sets. If the first layers stick to the build plate, the rest of the printing will go on perfectly. At this stage, you have to do nothing but wait for the outcome.
Just as the printing process is crucial, so is the post-processing step. For those with an FDM machine, you must remove the support structures, while people with resin-based printers will need to wash the models with isopropyl alcohol (IPA) to remove uncured resin and dry the structure under UV light.
Types of 3D Printing: FDM, Resin, and Beyond
Not just the working, users also need to understand the options they have when it comes to 3D printing.
FDM (Fused Deposition Modeling)
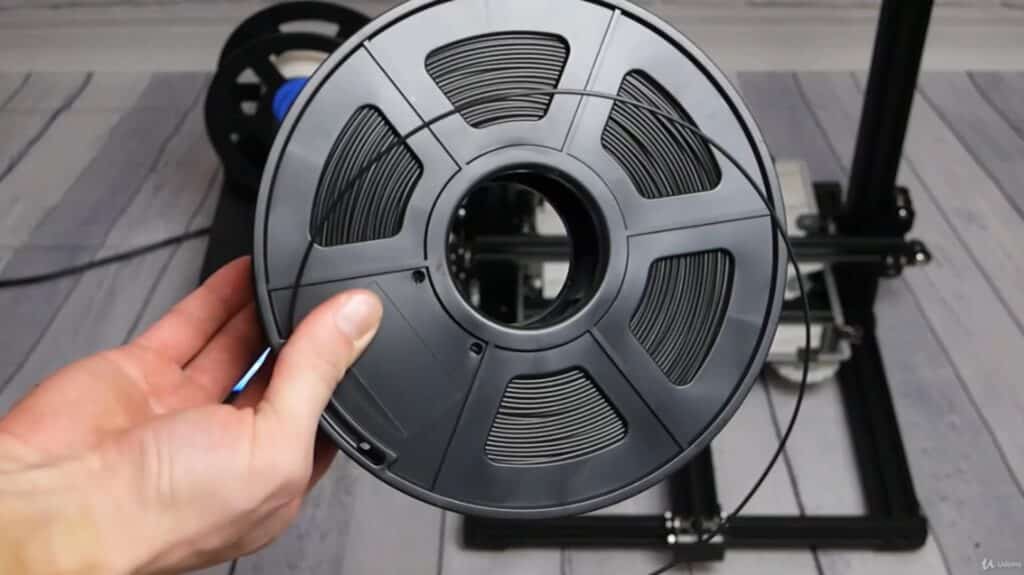
A commonly used 3D printing technology is FDM. Here, a spool of plastic filament is inserted into a heated nozzle, which helps it melt. The melted filament is then extruded onto the build plate layer by layer. Think of it like a hot glue gun that extrudes melted material along a precise path to build a design. This process allows 3D printers to create designs with utmost perfection.
While the process in itself makes it a popular choice, there is another reason why FDM printers are more preferred, and that is due to their material compatibility. You can use common materials like PLA, PETG, ABS, and TPU with an FDM printer. These materials come cheaply and offer high strength.
In short, FDM is perfect for beginners who want to produce household goods or prototypes.
Pros:
- Affordable printing
- Low material cost
- Large build volume
- Beginner-friendly option
- Safe for use at home.
Cons:
- Less detailed than resin printing
- At times, one can see visible layer lines
For a deep dive into FDM materials, printer types, and best practices, see our complete FDM guide.
Resin (SLA / MSLA / DLP)
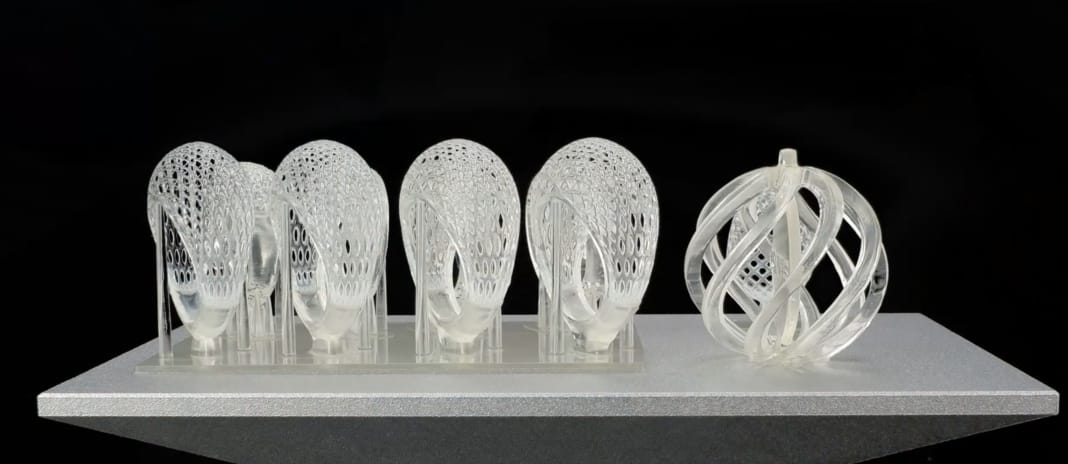
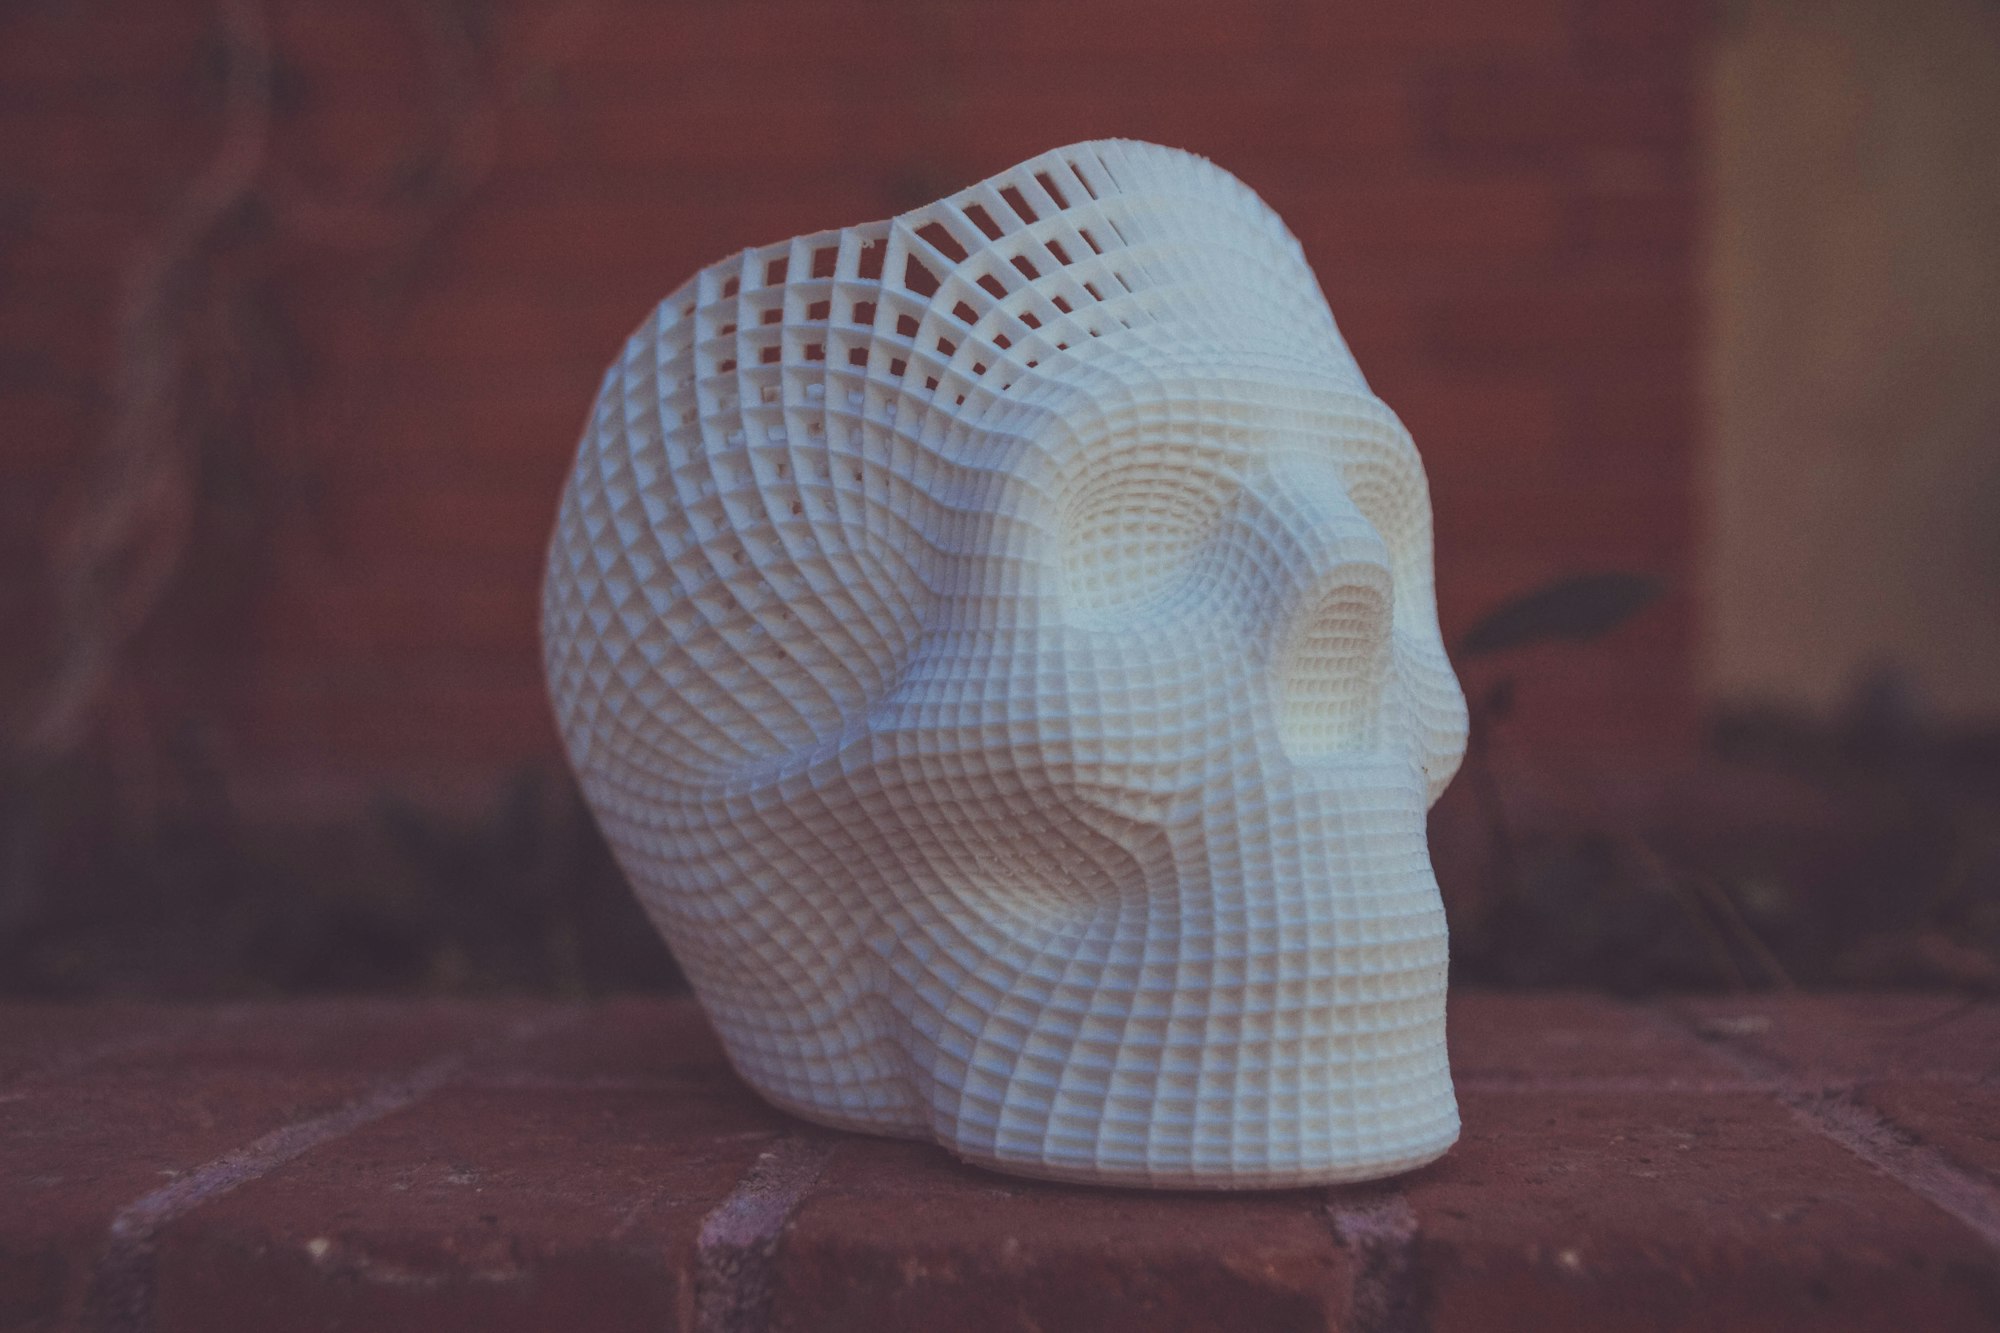
The second option in 3D printing is resin printers that use liquid photopolymer resin. This photopolymer resin is selectively cured by light to help it harden, and that is why these printers produce much more detailed objects. Here, the build plate lifts between layers, and the item is built upside-down.
The three main resin technologies include:
- SLA (Stereolithography): Using a laser, each layer is traced separately. Thus, it produces highly accurate objects, but the process is much slower than other options.
- MSLA (Masked Stereolithography): It uses an LED array to shine UV light through an LCD screen that masks the shape of each layer. It’s a highly dominant consumer resin technology mainly due to its speed and affordability.
- DLP (Digital Light Processing): There is also a process similar to MSLA, but instead of an LCD, here the 3D printer uses a projector.
Using resin printers, one can produce the best tabletop miniatures, figurines, jewelry, and even dental models. When someone prefers fine details to size and speed, they always go with resin printers.
Pros:
- Best for producing highly detailed goods (layer heights as fine as 0.03 mm — about the thickness of a human hair).
- Provides smooth surfaces.
- Highly accurate designs.
Cons:
- More post-processing needs.
- Requires proper gloves and ventilation.
- Smaller build volume.
- Higher ongoing material and post-processing costs than FDM.
Other Technologies (Industrial)
If you still think of FDM vs. resin printing as the only two options, you're mistaken. There are other technologies in the market when it comes to industrial-scale 3D printing.
Beyond FDM and resin, there is SLS (Selective Laser Sintering) printing technology, which uses a laser to fuse nylon powder. Since the process uses a high-powered laser to fuse the powder into the objects, and the surrounding loose powder acts as a natural support, complex parts can be printed without additional support structures.
There are also options in metal 3D printing, which are Direct Metal Laser Sintering (DMLS) and Selective Laser Melting (SLM). Both options create highly durable components that are often used in automotive engineering and aircraft designs.
PolyJet and Binder Jetting are also advanced technologies that can print multiple materials and colors simultaneously. So, for realistic prototypes, you could experiment with these options. However, given the high costs associated with each one of these, they might not be suitable for all types of home users.
What Can You 3D Print?
Undoubtedly, 3D printing is the most useful and popular invention of the century, and the reason behind this is its ability to create an incredible variety of objects. From household goods to education-based projects, a 3D printer can create anything.
Home-based goods
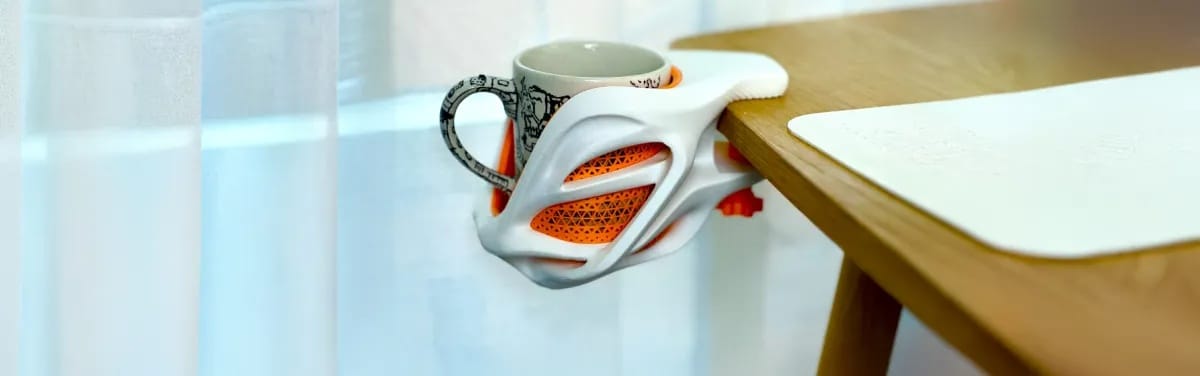
Many people use these 3D printers to solve daily life problems. For example, people can print custom phone covers, cable organizers, wall hooks, or even replacement door knobs with a single printer. Instead of buying expensive parts online or visiting crowded markets, you can print the needed item yourself.
Hobbies and creative projects
If you're a hobbyist, you would know that 3D printing isn't just an activity but rather a way to transform ideas into reality. People into cosplays can easily make armors and props, while gamers can produce the finest quality of miniatures. So, the ability to customize designs gives people the freedom to experiment and make something unique.
Education and STEM
Teachers and students can also take advantage of the technology and create life-size models to comprehend topics. For example, you could make terrain models for your geography class or create molecule structures for chemistry. One can even make gear systems for advanced-level classes.
Side income
Most importantly, 3D printers have helped people establish a stable source of income. Instead of purchasing goods from the market, individuals have started to create personalized items that they sell on Etsy, or offer local on-demand print services. Some people even create replacement parts on demand. These small ideas have helped hundreds of individuals start their own tiny profitable firms.
Let's also not forget that not only for small-sized projects, but this technology is also used at an industrial scale. Aerospace companies are using 3D printers to produce jet engine components, construction firms use them to print house parts, and hospitals are using 3D printers to create prosthetics and surgical equipment. Thus, you are working with a machine that has vast potential and can benefit you in several ways. The technology has an enormous ceiling — and you're just getting started.
Pros and Cons of 3D Printing
With clarity on where you can use these 3D printers, it’s time to understand the basic pros and cons of the process.
| Advantages | Disadvantages |
|---|---|
| No molds or tooling needed | Slower than mass manufacturing |
| Complex geometries are free | Surface finish needs post-processing |
| Low cost for one-offs and small batches | Parts weaker than machined metal |
| Rapid design iteration | Learning curve for slicer settings |
| Huge range of materials | Build size limited by printer |
| Easy customization and personalization | Failed prints waste time and material |
For home-based users, having a 3D printer is highly beneficial and slightly outweighs the drawbacks. After all, the ability to create custom objects not only helps your imagination grow but also helps you gain financial freedom. A single unique idea can help you begin your entrepreneurial journey. While there are some limitations, modern printers and beginner-friendly software have made them much easier to manage.
How to Get Started
If all these little tidbits have also invoked excitement in your heart and you wish to start with 3D printing, here are a few simple steps to follow.
Pick a printer
To begin your journey, you need a printer, so pick an option that suits you. As told earlier, there are multiple technologies, including FDM and resin printers, but for beginners, FDM is always more supportive. It's safer, and even the filament is cheaper compared to resin. Keep in mind that it's your first printer, so don't go above a certain budget.
The best option is to keep it between $200–500 which will get you a good entry-level machine. Also, don't keep on doubting your choice. It's your first machine, and even if the best 3D printer for a beginner doesn’t have all the features, it will have enough options that will get you through your first year.
Set up your workspace
Next, it's time to set up your workspace. Find a stable desk or study table to place your printer. Remember, you need a well-ventilated room and proper space for a 3D printer to work properly.
For FDM printers, you can choose almost any room in your home, but for resin printers, ventilation matters. It is preferred to keep resin printers in rooms with exhaust fans, as they can create issues.
When you've set up your workplace, read the user guide to get better insights on the machine.
Install a slicer
With the printer in place, you now need to install a slicer. You could download Bambu Studio or opt for Orca Slicer or any other free model. Just make sure it's compatible with your 3D printer and has a few ready-made profiles. These ready-made profiles make a beginner's life much easier by helping them avoid unnecessary setup complications.
Print your first model
At this stage, you can visit libraries such as MakerWorld or Printables and find basic beginner-friendly designs, like the 3D Benchy. Using these simple designs, one can easily check one's machine's performance and calibration. If the outcome is as expected, your machine is good to go.
Some beginners try to manipulate the settings, but honestly, we won't recommend doing that at the start. It would be better to stick with the default settings for the first few times to avoid complications. Once you get the hang of the process, you can make any changes required.
Join a community
Congratulations, you have just created your very first 3D model using your beginner-friendly printer. All that's left now is to join a community. These online communities help you find experienced people willing to share their expert opinions with you. Not only opinions, but you can even ask them for help at any point.
Online forums like Reddit communities, Discord, and Facebook groups are full of helpful people. So if you are experiencing a failure, share it online on these forums and get the right answers. The sooner you share, the sooner you get to complete your project.
Getting into 3D printing is not an issue at all. In fact, getting started with 3D printing is much easier today than it was in the past. You have reliable software, better systems, and countless communities to help you begin your journey. So instead of getting overwhelmed, follow the right steps.
FAQ
Q: Is 3D printing easy for beginners?
Yes, with the modern technology available in the current era, 3D printing has become quite easy for almost every age group. Additionally, there are guide setups, user-friendly software, and a huge community to help you troubleshoot any problem that you face. Even if you're a non-technical person, beginning your 3D printing journey won't be a hassle.
Q: Do I need to know CAD to 3D print?
No, even if you don't know CAD (Computer-Aided Design), you can still start 3D printing. There are thousands of ready-to-print models available online, perfect for creating custom designs. You can even modify existing designs available on several sites like Thingiverse, Printables, and MakerWorld.
Q: Is 3D printing expensive to get into?
Not essentially. Nowadays, you can find professional 3D printers ranging between $150 and $300. So, purchasing them won't be a burden on the pocket. Even the standard PLA filament costs around $15-$30, so the overall cost doesn't exceed a few hundred dollars. In simple words, 3D printing is now an affordable hobby.
Q: Is 3D printing safe?
Firstly, use these printers in well-ventilated rooms and avoid touching parts like the nozzle and heated bed. Most importantly, follow the guidelines provided by the manufacturer.
Q: How long does a 3D print take?
A 3D print can take anywhere between minutes and hours, depending on the size and complexity of the project. Simple objects need around 20-50 minutes, but larger, detailed projects can take days. So, your design determines how long the print will take. Remember, more complex projects mean more layers.
Q: What's the difference between 3D printing and additive manufacturing?
They mean the same thing. "3D printing" is the everyday consumer term, while "additive manufacturing" (AM) is the formal industry and engineering term. You'll see AM used more in professional and academic contexts.

Comments ()