How to Remove a 3D Print from the Bed (Without Damaging It)
Learn 6 safe methods to remove a 3D print from the bed without damage. Covers PLA, PETG & TPU removal, glass bed tips, and prevention for stuck prints.
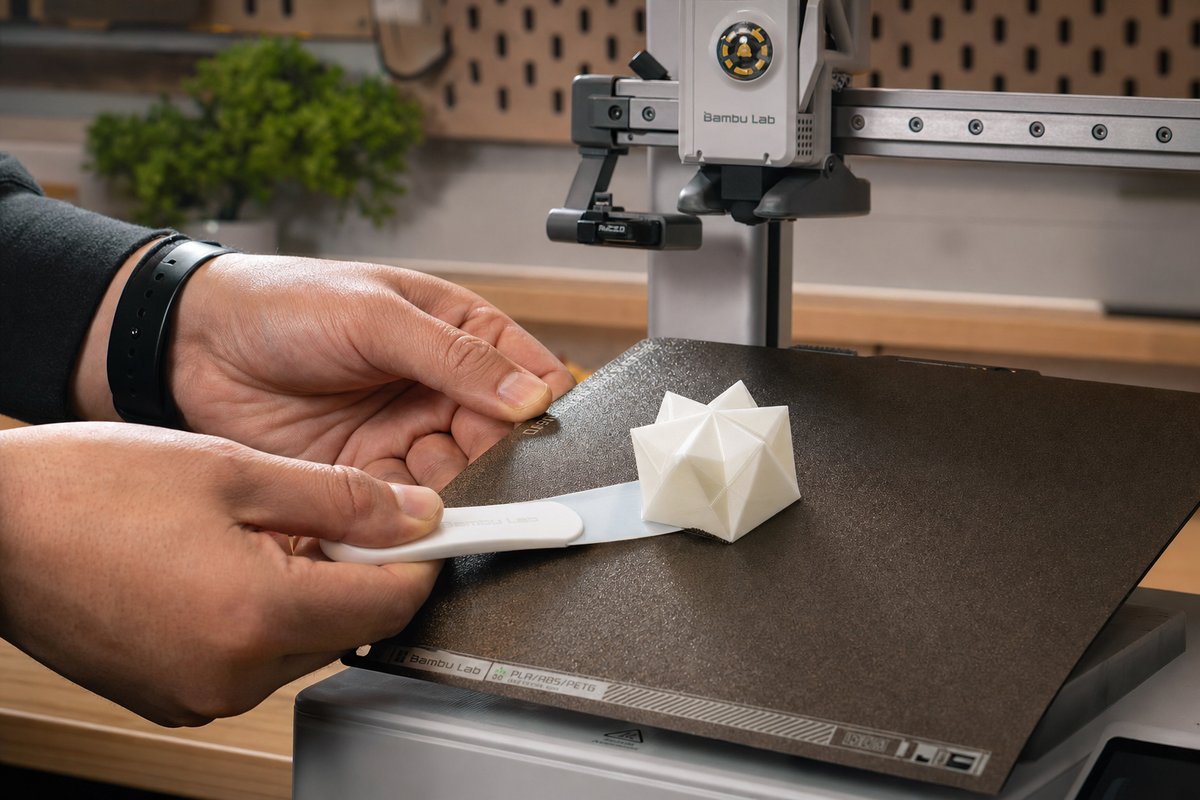
Most 3D prints detach automatically from the bed, but in some cases, 3D prints do get stuck to the bed, and when that happens, you need the right solutions.
Fixing the issue requires proper techniques, and the following guide provides six removal methods. Continue reading the following paragraphs to understand the removal methods and prevention tips.
Why Won’t My 3D Print Come Off the Bed?
Before jumping to how to remove 3D prints from a bed, one must understand the root cause of the problem. We believe the following 4 reasons are the main culprits.
- Z-offset too low: The first reason is the low Z-offset value. Since the nozzle is too close to the build plate, the molten filament will form a strong mechanical bond with the surface.
- Print hasn’t fully cooled off: Another reason is that you pulled the print before it has fully cooled down. If the print hasn't cooled off, the bonds won't break.
- Adhesive is too strong: 3D print bed adhesion problems are much more common than you expect. Believe us, a little extra glue or excessive hairspray makes the bonds even stronger, and it will be impossible to get the print off the bed.
- PETG chemical bonds: PETG often fuses with the surface rather than just sticking to it, and it won't come off. Even if you try to remove it, you could tear chunks out of the build plate.
How to Remove a 3D Print from the Bed (Step by Step)
Focusing on how to get a 3D print off a bed, we have six methods to help you get through.
Method 1. Let the Bed Cool Completely
It’s the best option for all kinds of materials and prints.
- Leave the print to cool down to room temperature. Small PLA prints typically release within 5–10 minutes on a flex plate. Larger prints or high-temp materials (ABS, PETG) may take 20–30 minutes.
- Wait for a pop or click sound, which indicates that the plastic has cooled off and has released itself from the surface.
- Remember, the cooling time varies by material, so never rush the removal process. Moreover, gently lift the print from one end first, instead of pulling off the whole thing at once.
Method 2. Flex the Build Plate
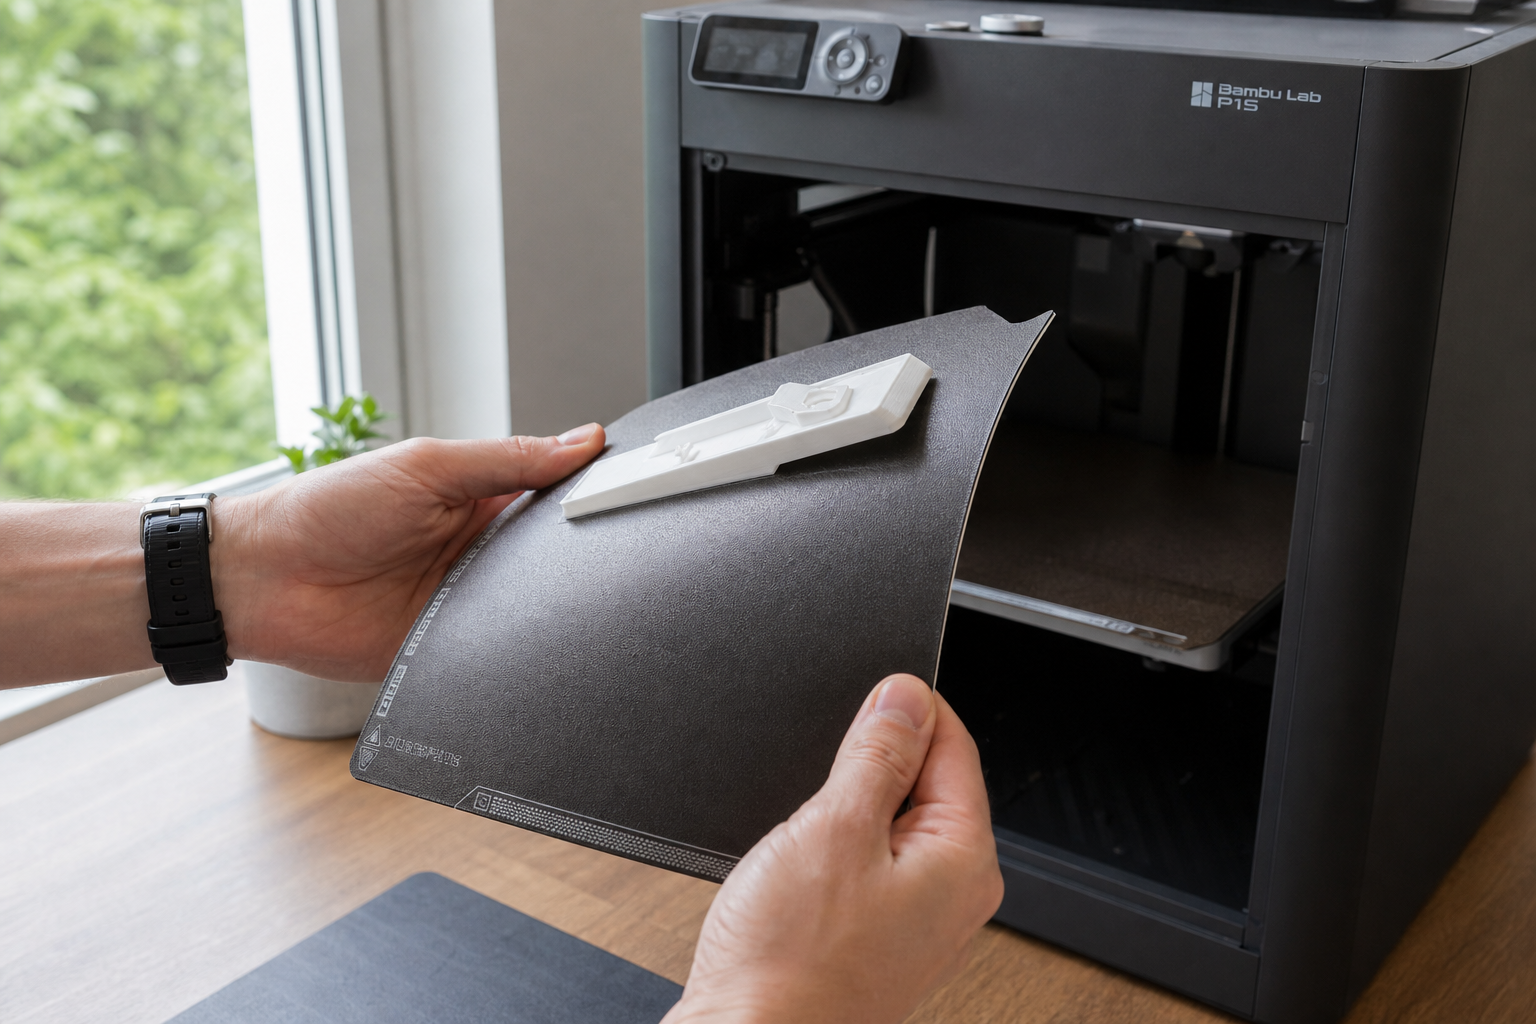
In case the bed has completely cooled down and you're still wondering how to remove the 3D print from the bed, we suggest flexing the build plate. It's the ideal choice for magnetic flex plates found in Bambu Lab printers.
- Start by removing the printer's plate and bending it into a curve. Remember not to apply excessive force and hold the plate from the sides.
- The curved surface helps the print pop off without using tools.
- Being effective, this method is highly popular amongst 3D printer users.
Method 3. Use a Plastic Scraper
These scrapers work for fixed beds or prints that didn’t come out fully even after proper cooling.
- Take a scraper and slide it carefully under the edge of the print. Make sure to keep a low angle.
- Now, gently push the scraper forward to help remove the stuck part of the print.
- Keep in mind, you need to use a plastic scraper, not a metal one, and avoid pushing the scraper in just one spot.
Method 4. The Freezer Trick
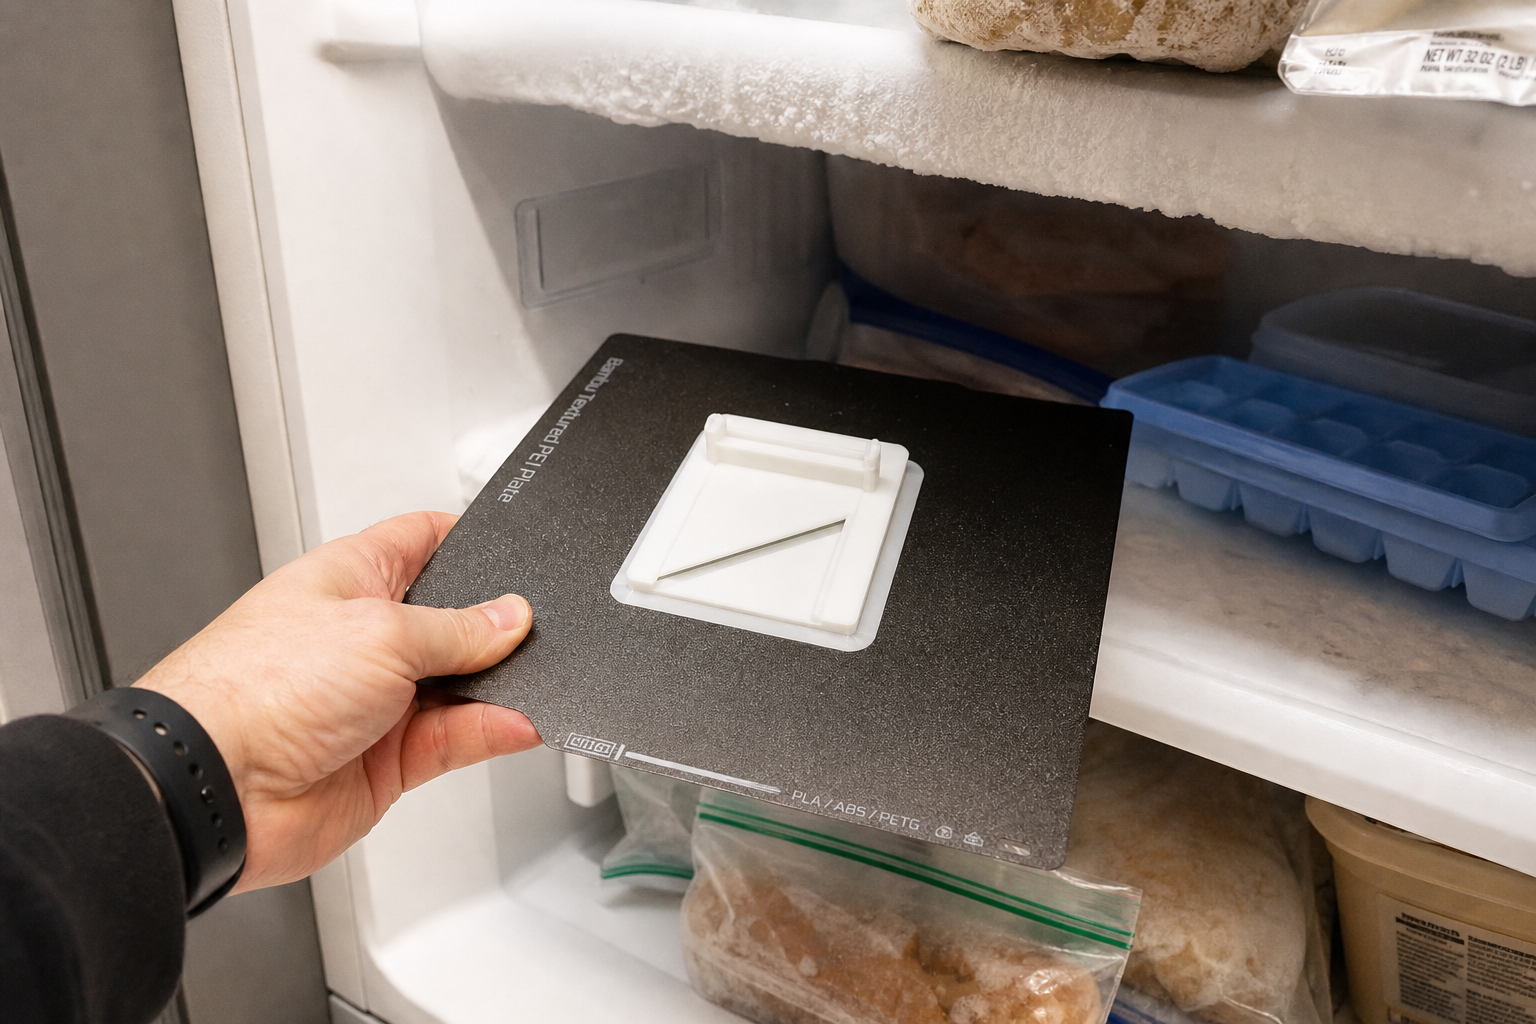
If the previous methods don't work, you can always try the freezer trick. It's perfect for removable plates and for materials like PLA; less effective for PETG/ABS.
- The first thing you need to do is remove the entire build plate and move it into a freezer for approximately 10-15 minutes.
- The cool temperature helps the plastic contract, thereby breaking the bonds.
- Once you take out the plate, you can easily remove the print.
Method 5. Isopropyl Alcohol (IPA) Method
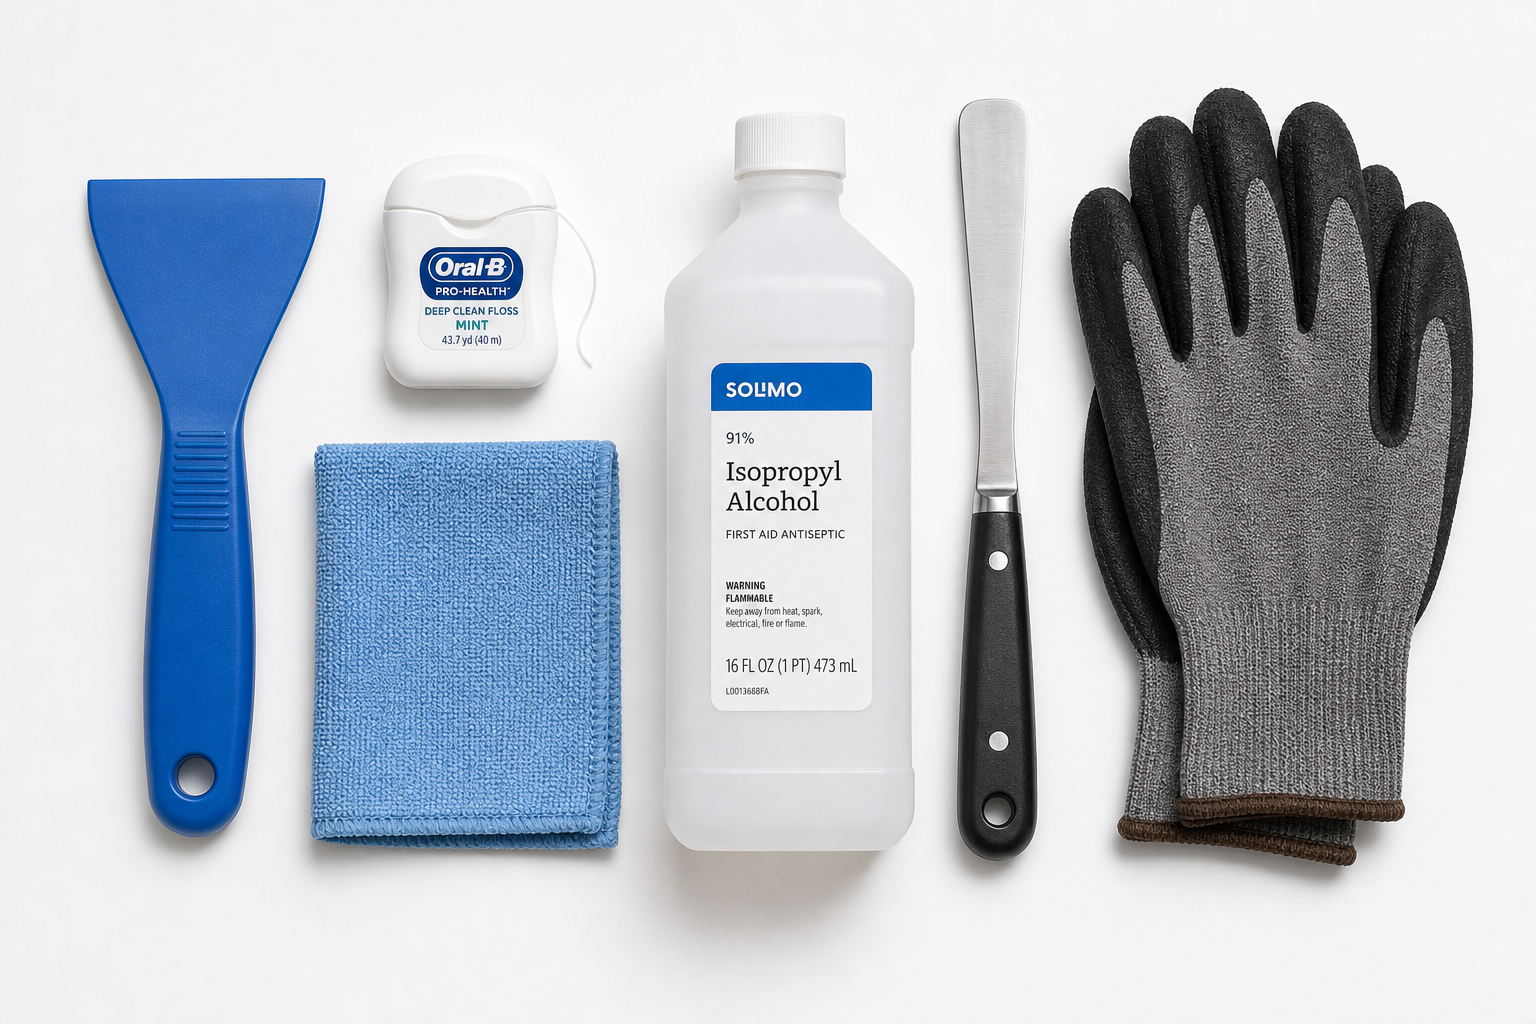
This method works when you used a glue stick or PVA-based adhesive. IPA dissolves the glue layer and loosens the bond. It will NOT help if the print is bonded directly to PEI without adhesive — try the freezer trick or re-heating instead.
- Drip a small amount of 90%+ IPA around the base of the print, targeting any raised edges.
- Wait 2 minutes for the solution to seep under the print.
- Once the glue layer softens, gently slide a plastic scraper underneath to lift the print.
Method 6. Dental Floss / Fishing Line
Finally, there is the dental floss or fishing line method, which works when you can’t get your scraper through large prints.
- You will need to cut out a piece of dental floss or fishing line and slide it under the corner of the print.
- Hold the thread firmly and, using a back-and-forth swaying movement, move it around the base. Slowly, the floss or fishing line will separate the stuck part from the base without any damage.
How to Remove a 3D Print from a Glass Bed
Now that you’re aware of how to remove a 3D print from a bed, you should also know about different kinds of beds that you will deal with. One such option is the glass bed.
Glass and plastic beds are very different from one another, and their thermal contraction rates also differ. That means those with an older printer, having a glass bed, will need to account for the bed's individual cooling-off time.
The best thing about a glass bed is that it releases the print completely once it cools off, so be patient. In case the print isn't coming off, you could try the dental floss method, the freezer trick, or the IPA method. These work best on glass surfaces.
As a last resort, you can try gently tapping the edge of the print (not the glass itself) with a plastic handle. Avoid using metal tools directly on glass — one wrong tap can crack the plate.
How to Remove Stuck PLA, PETG & TPU from the Bed
3D printers work with different types of filaments, and each one behaves differently when printed. Thus, you can't apply the same removal method for each option.
How to Remove PLA 3D Print from Bed
PLA is the easiest filament to work with. The reason is its ability to contract quickly as it cools down. Therefore, if you let the PLA print cool down, it will release itself from the bed.
You may come across a stubborn PLA. Just let it cool off and gently flex the plate to remove the print. You could use the freezer trick if you need to speed up the cooling process.
However, if that doesn’t work, the problem could be with the Z offset value.
How to Remove PETG 3D Print from Bed
PETG forms stronger bonds than most materials, and that means forcing it out can damage the build plate.
If the material is stuck badly, try to re-heat the bed to 70–80°C. This softens the bond at the interface between the PETG and the build surface, making it easier to slide a scraper underneath. Once warm, gently apply a plastic scraper and go from corners to the center.
While careful removal is important, prevention is even more crucial. The real danger with PETG is printing it directly on smooth PEI without any barrier. PETG can chemically bond to the surface and tear chunks out of the plate on removal. Always apply a thin layer of glue stick as a release agent — this actually makes removal easier, not harder. Alternatively, use a textured PEI sheet, which PETG releases from cleanly without any adhesive.
How to Remove TPU 3D Print from Bed
We also have TPU, which is extremely flexible, so it rarely gets stuck aggressively to the bed. Still, if it isn't coming off, you only need to apply a little IPA solution or slightly bend the plate, and the print comes off.
How to Clean Leftover Print Residue from the Bed
Once you're done printing, it's time to clean the bed, and you could do it through the following options.
- For stuck plastic bits: Heat the bed to 70°C, and use a plastic scraper to remove the unwanted residue.
- For adhesive residue: Simply remove the plate and wash with soap and warm water. Finally, wipe it with IPA.
- For general cleaning between prints: Wipe the bed with IPA and a lint-free cloth to remove dust.
Don’t forget to check the Z-offset value as well. A low value is often the root cause of many problems.
How to Prevent 3D Prints from Sticking Too Hard
Removing a stuck print requires care, but you could avoid the removal process by using a few preventive measures in the first place.
Calibrate Your Z-Offset
The Z-offset is single-handedly the most common reason for stuck prints. So, adjust it before starting off to ensure that the nozzle is not too close to the build plate.
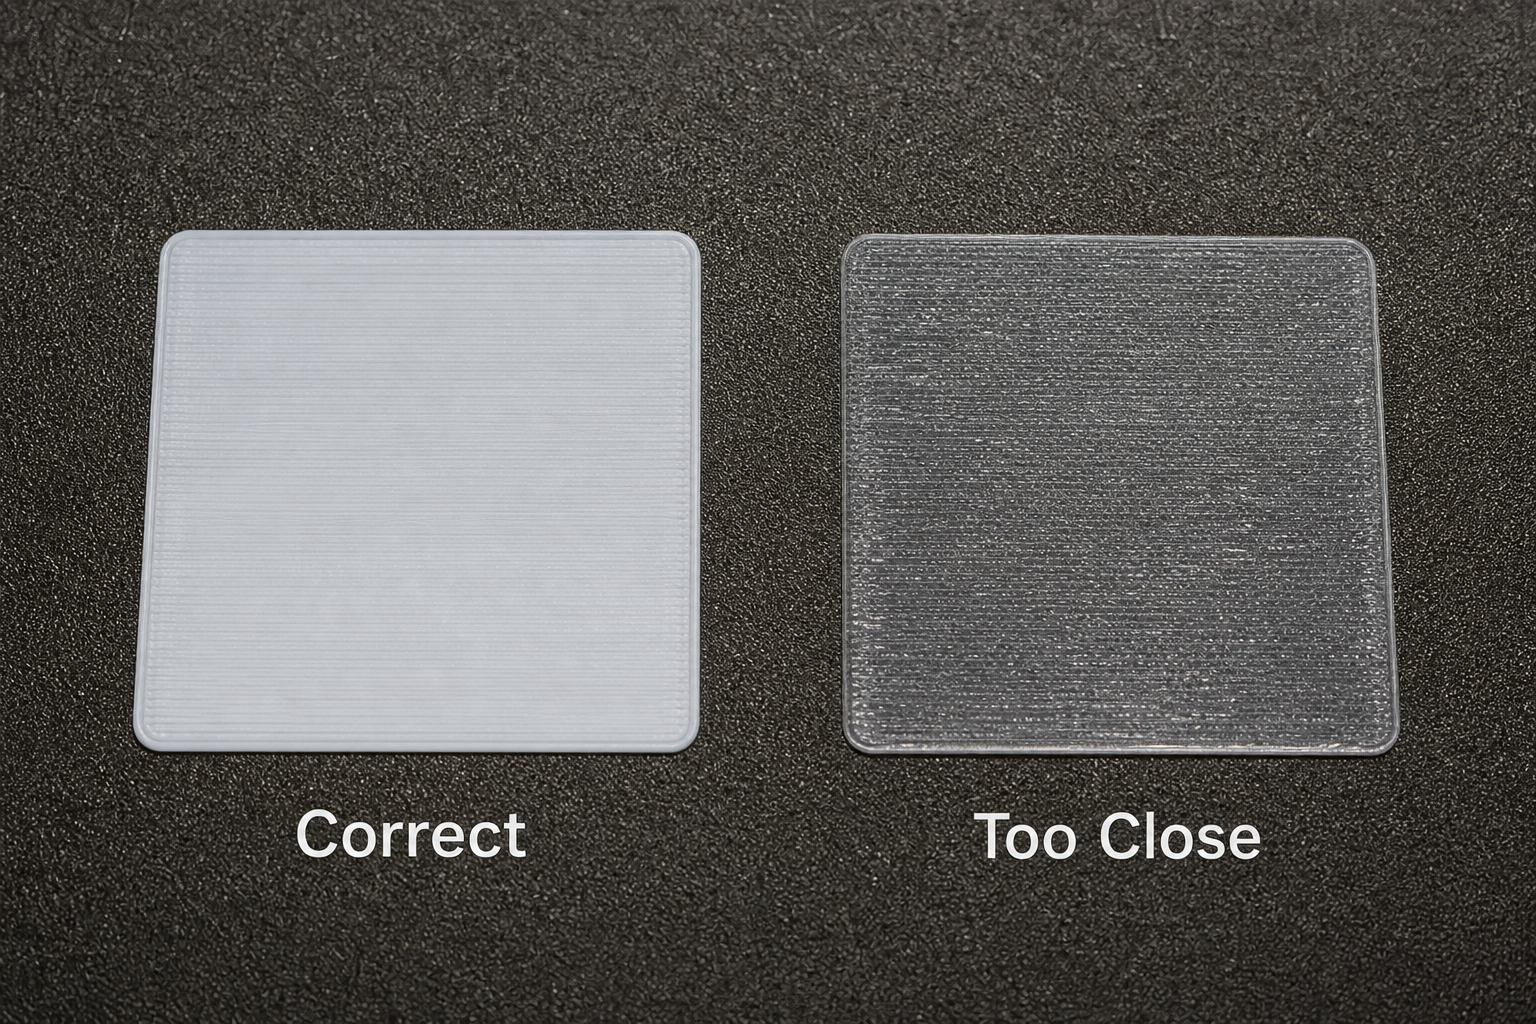
The correct way to check it is by looking at the first layer. Look at the first layer: if it's pressed so flat that the plastic becomes semi-transparent (you can see the bed color through the thin film), the nozzle is too close. Raise the Z-offset by 0.02mm increments until the first layer is opaque but still flat. (If you overcorrect and the first layer stops sticking entirely, see our guide on 3D print not sticking to bed.)
Use the Right Adhesive (or Release Agent)
The adhesive is linked with your filament type. For PLA on PEI, you don't need any additional adhesive, but if the print sticks too much, then the Z-offset value is too low. So, adjust that.
For PETG on smooth PEI, always apply a thin layer of glue stick as a barrier. For PETG on textured PEI, no adhesive is needed — textured PEI is the recommended surface for PETG because it releases cleanly. For ABS on glass, a glue stick or ABS slurry will improve adhesion.
You can always adjust the amount depending on the print quality.
Choose the Right Build Surface
The right selection of the build surface also prevents prints from sticking to the bed. For beginners, we always suggest using magnetic flex PEI plates because they are the easiest to manage.
Also, Textured PEI works ideally for PETG because your prints come out smoothly, and even glass surfaces work best when you use the IPA method or the freezer trick.
FAQ
Q: How long to wait before removing 3D print from bed?
Always wait till the print and bed both reach room temperature. It can take about 5–10 min for small PLA and more for complex ones. If you remove a print before it cools off, you risk warping.
Q: Why won’t my 3D print come off the bed?
The reasons could include a low Z-offset, which causes the layer to press onto the bed surface, or that you didn't wait for the print to cool down. At times, too much adhesive or directly printing PETG on PEI creates this issue.
Q: How to remove stuck PLA from bed?
You should wait for the print to cool down and then try to remove the print. If that doesn't work, use the freezer method or readjust the Z-offset.
Q: How do I remove a print job that won’t delete?
This is a software issue and has no connection with the physical removal problem. You could restart the printer or cancel the job from the app. If you're a Bambu Lab user, long-press the task in Bambu Handy to delete it.
Comments ()